How to effectively install the CPL filter?Updated 4 months ago
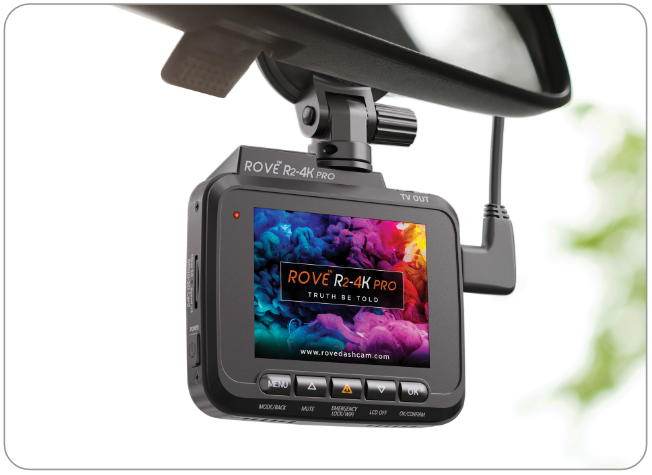
A CPL (Circular Polarizer) filter is a valuable accessory that reduces dashboard glare and reflections, delivering crisp, vivid footage. Installing it correctly ensures you get the best video quality in daylight conditions.
Follow this step-by-step guide:

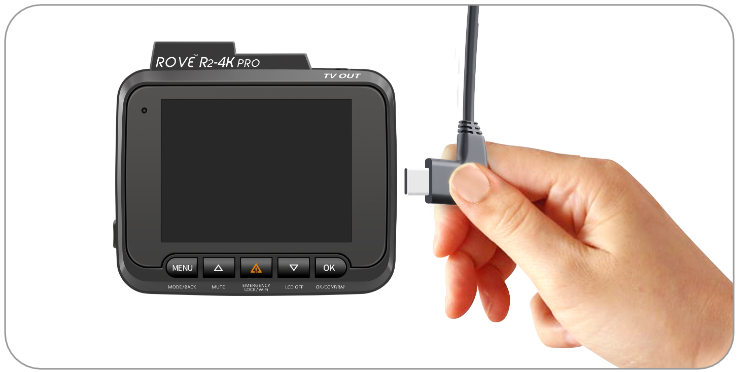
Before installing the filter, turn off and unplug your dash cam to prevent accidental damage.

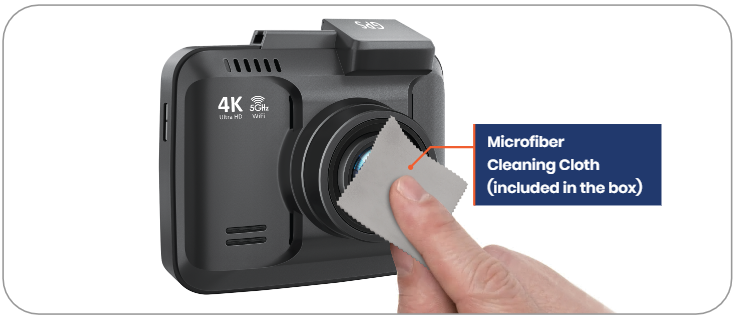
Use the provided microfiber cloth to clean the camera lens gently. A clean surface ensures the filter attaches securely and the footage remains sharp.

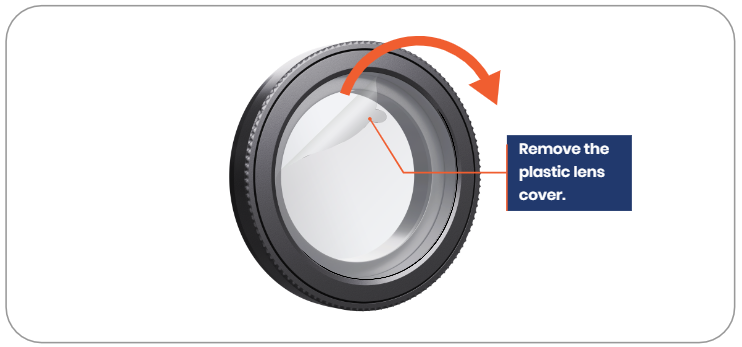
Carefully peel off the protective plastic cover from the CPL filter. Avoid touching the glass surface to prevent smudges.

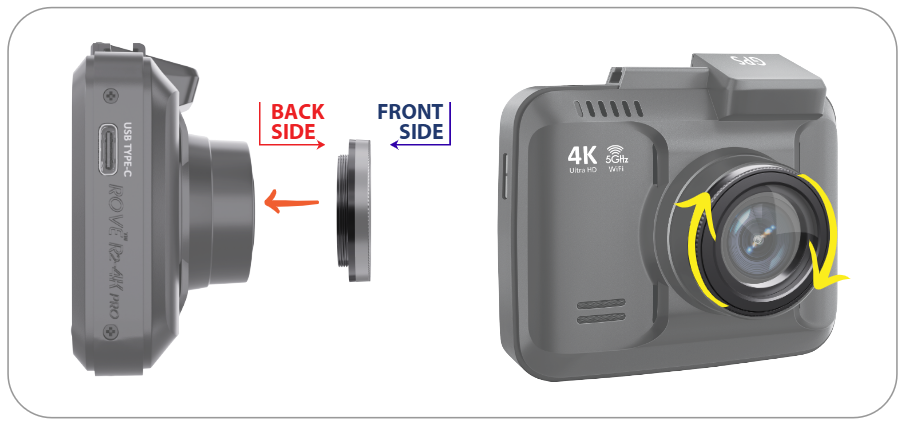
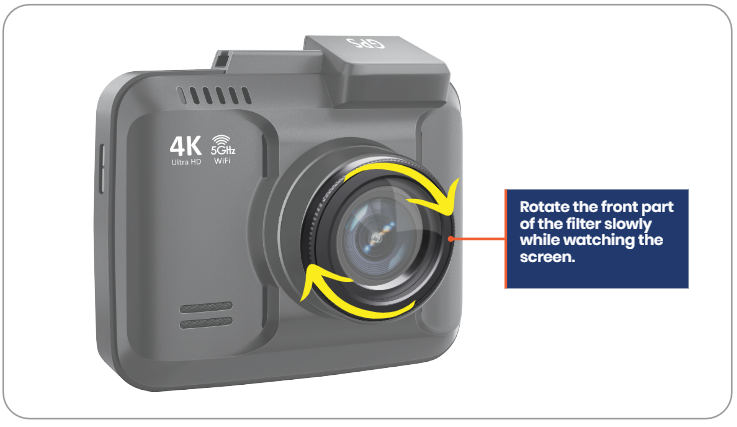
Hold the filter by its back (the threaded ring). Align it with the dash cam lens, and screw it on gently in a clockwise direction until snug.

Once attached, power the dash cam back on to check positioning and adjust as needed.

Rotate the front part of the filter slowly while watching the screen. You’ll see the glare and reflections change. Stop rotating when glare is minimized.
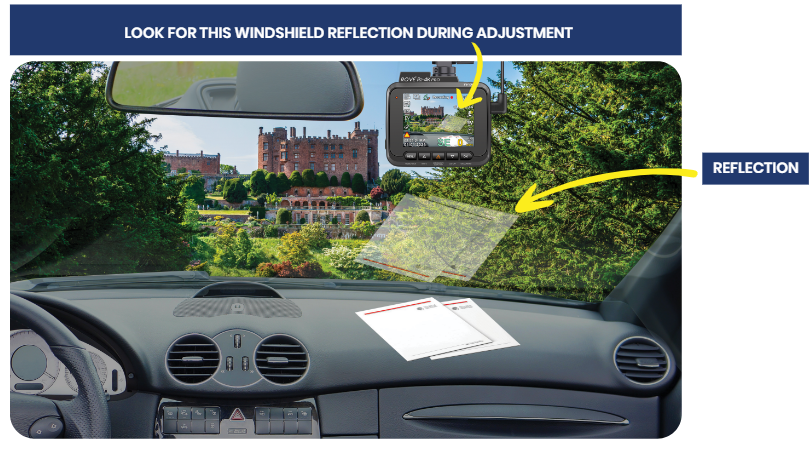
Tip: To make adjustments easily, place a white piece of paper on the dashboard to create a visible reflection.

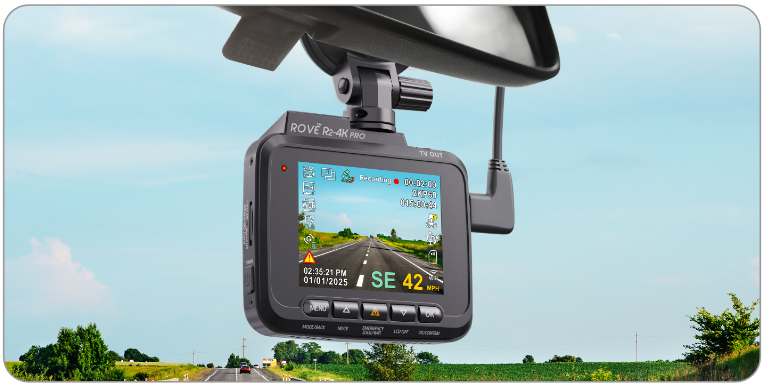
Remove the paper and record short clips in different lighting to confirm that the glare reduction and clarity meet your expectations.
By correctly installing and adjusting your CPL filter, you’ll capture clearer, more professional footage, reducing distracting reflections and enhancing detail in every drive.
If you have any further questions or if there's anything else we can assist you with, please feel free to reach out to us. We're here to help.
CUSTOMER SERVICE:

Email Us: 📩[email protected]
Text Us: 📲1-844-768-3226 (For faster response)